Is CAPTCHA/reCAPTCHA not stopping spam on your (WordPress) site?
CAPTCHA is one of the best tools WordPress administrators and website owners have at their disposal in their fight against spam. Spam comments, spam messages, and fake user registrations can strain WordPress websites, and CAPTCHA is there to help. However, just like any other tool, it sometimes needs to be sharpened and serviced to continue working at its best.
If you have ReCAPTCHA configured on your WordPress website but you’re still getting spam, this article is for you. We will start with a brief introduction and some background information about how CAPTCHA works before delving into step-by-step instructions on actions you can take to limit spam. Let’s get to it.
Table of contents
What is reCAPTCHA?
ReCAPTCHA is a CAPTCHA service provided by Google. CAPTCHA plugins that use the Google ReCAPTCHA service act as a connector to the Google reCAPTCHA service – which essentially does the bulk of the work,
CAPTCHA is an acronym that stands for Completely Automated Public Turing Test to Tell Computers and Humans Apart.
This means that the ReCAPTCHA service effectively tries to determine if a visitor is a computer or a person through a test. The test is ‘rigged’ in favor of humans – which is what we ultimately want. Computers, however, keep getting smarter, and sometimes they are able to pass off as humans and ace the test. To learn more about CAPTCHA, what it is and how it works, read What is CAPTCHA.
ReCAPTCHA comes in three different versions:
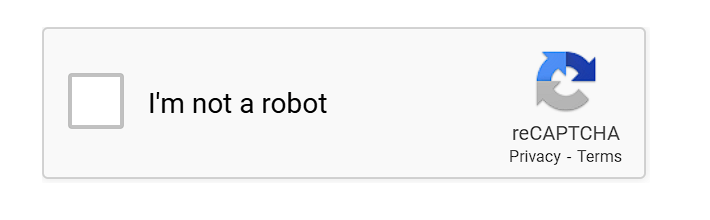
- ReCAPTCHA – V2 I’m not a robot
- V2 Invisible
- V3
V3 is the latest version, launched in 2018. The V2’s were first launched in 2014. Each of these versions includes a different type of test, with the test that’s run by V3 being more technologically advanced. It’s a type of invisible reCAPTCHA that analyses user behavior to determine how likely it is that they’re humans or bots.
Furthermore, it even lets you set the test’s pass mark yourself. This control allows you to tweak the test, making it more difficult for computers to pass the test. This is what we will be configuring in the next section.
Step 1: Check the ReCAPTCHA dashboard
The Google reCAPTCHA dashboard offers several stats that can help you determine what is going on, including passed and failed login requests and the number of sessions completed. If you do see an error message, make sure you investigate it thoroughly. This will help you ensure that reCAPTCHA is working properly.
Number of suspicious requests
The first statistics we need to look at are Total requests and Suspicious Requests. These numbers will tell us what kind of traffic we’re getting and what percentage of spam is getting through.

In the screenshot above, we can see that in 7 days, our WordPress website made 12,554 requests. None of these requests were considered suspicious since we have 0% under Suspicious requests.
Had we received spam during that time, then we can ascertain that something was amiss.
What you need to consider here is the number of spam messages over a period of time. Not all spam messages come from bots. Many spammers resort to cheap labor to spam websites. They do this because they know CAPTCHA is designed to stop bots, not humans (more on this later, so keep reading). If you received a handful of spam messages, it might have been the work of humans. However, if you received a large number of spam messages over a short period of time, reCAPTCHA, as it is configured, might not be stopping bots. We will cover different solutions for this issue as well.
Step 2: Enable WordPress spam protection
WordPress has a few tools up its sleeve that can help you reduce spam. These tools work whether the submissions come from a person or a bot. As such, they complement reCAPTCHA nicely as they offer another layer of anti-spam security.
To access the tools discussed in this section, first log in to your WordPress dashboard and then navigate to Settings > Discussion.
Step 2.1: Comment approval
Comment approval enables you to stop comments from being automatically approved. There are two settings available, providing you with granularity over how comment approval is handled. While you can ask WordPress to require manual approval for every comment, you can also automatically approve comments by someone who has previously posted before.
- To manually approve every comment, tick the checkbox next to Comment must be manually approved
- To allow users who have posted before to bypass this restriction, tick the checkbox next to Comment author must have a previously approved comment

Step 2.2: WordPress comment moderation
Comment moderation is an effective way to limit spam. It requires manual approval of certain comments before they appear on your WordPress site. The feasibility of comment moderation will depend on the size of your community and the human resources that you can dedicate to comment approval or denial.
Comment moderation does not delete or disallow comments. Rather, it holds them in a separate queue called moderation queue when they meet certain criteria. You, or a team member, can then approve or deny comments.
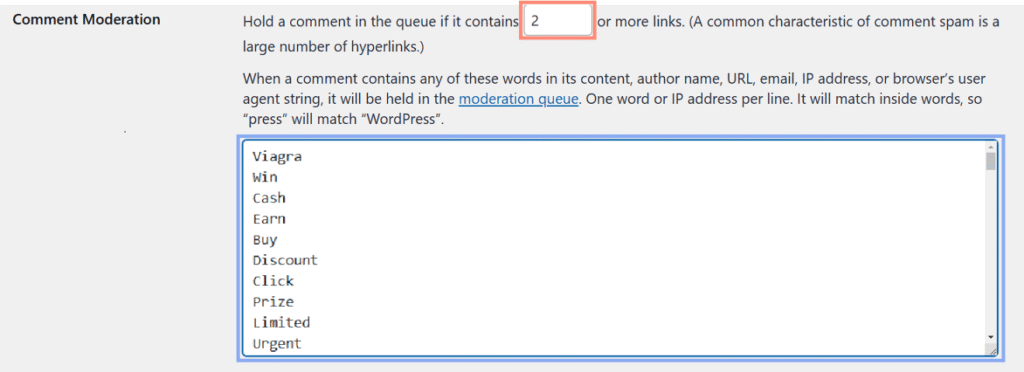
There are two criteria you can set for comment moderation. These are the number of links and keywords.
- To set the minimum number of links a comment must have to be held in the moderation queue, enter the number in the provided text field. This is marked in orange in the screenshot below.
- To move comments to the moderation queue when they contain specific words, enter the words in the provided text field. This is marked in blue in the the screenshot below.
You need to be mindful of your industry and community. Certain words and phrases that might be considered spammy on one website might be of legitimate interest on another. As such, you should always filter any lists to ensure they apply to you. This ensures genuine users can still post relevant comments.

Step 2.3: WordPress disallowed comment keys
Should you rather have comments automatically moved to trash when they contain certain words, you can use the Disallowed Comment Keys. All you need to do is enter the troublesome words in the Disallowed Comment Keys, as shown in the screenshot below.
Step 3: Enable CAPTCHA on all forms
CAPTCHA is very good at helping you prevent spam on the forms it is enabled on, whether it’s a simple contact form or something more complex like a WooCommerce checkout form. The important thing is to make sure CAPTCHA is enabled on all forms on your WordPress site.
This might not be possible if you’re not using a dedicated CAPTCHA plugin. Plugins like our very own CAPTCHA 4WP plugin are compatible with many third-party plugins, including WooCommerce, Contact Form 7, Gravity Forms, and many others. You can also add CAPTCHA to custom WordPress forms for 360-degree spam protection.
Step 4: Upgrade to reCAPTCHA V3
As mentioned earlier, V3 is the latest version of Google ReCAPTCHA. By switching to this version, you’ll gain control over the test’s pass mark, making it more difficult for spam to get through. This version also requires less user interaction, helping you decrease friction with your users and visitors without compromising on security.

The first step you need to undertake is to check which Google ReCAPTCHA version you’ve configured on your website. As mentioned earlier, V3 is the newer version. If you’re running an earlier version, make sure you enable ReCAPTCHA V3.
We will showcase how you can do this on CAPTCHA 4WP. Keep in mind that the exact process will vary from one plugin to the next.
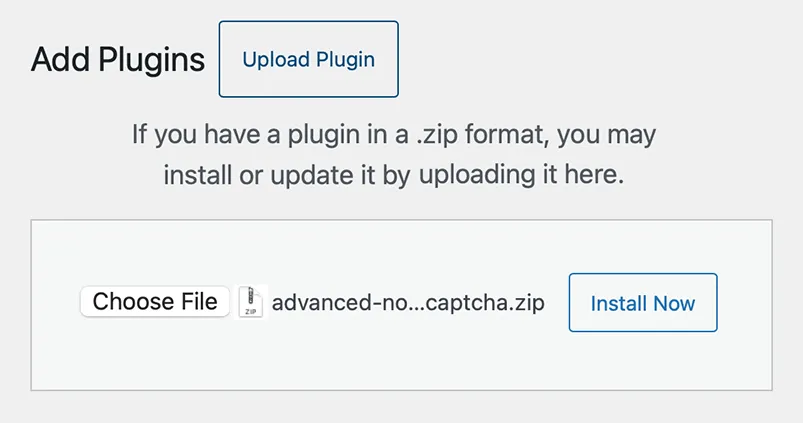
P.S. The free version of CAPTCHA 4WP includes all reCAPTCHA versions. You can download it from here.
Step 1: Get a new key pair
You will need a Secret Key and a Site Key for ReCAPTCHA V3. You can do this through the Google ReCAPTCHA admin console.
Step 2: Configure CAPTCHA 4WP to use reCAPTCHA V3
With the key pair at hand, it is time to configure reCAPTCHA V3 on your WordPress site:
- Navigate to CAPTCHA 4WP > CAPTCHA Configuration
- Click on the blue Reconfigure CAPTCHA integration button
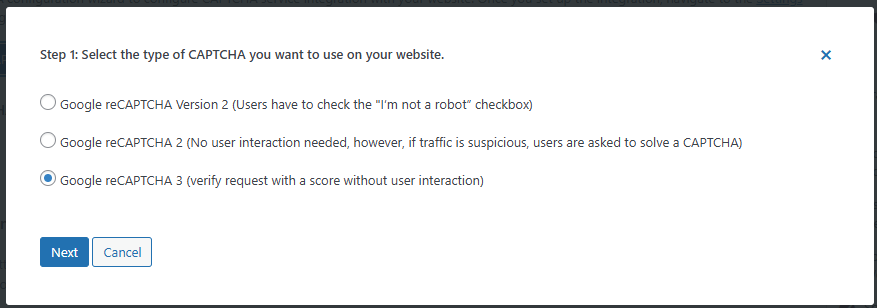
- Select the reCAPTCHA V3 option in Step 1 of the wizard
- Finish the CAPTCHA configuration wizard
Step 3: Set the pass mark
As mentioned earlier, CAPTCHA is a test, and like other tests, it has a pass mark. Adjusting the score can make it more difficult for spam bots to pass as humans and leave spam messages.
In CAPTCHA 4WP, we can do this through the ReCAPTCHA settings by adjusting the Captcha Score. By default, the score is set at 0.5, which equates to 50%. Increase the value to make the test more difficult to pass.

Increase the value by 0.1 and re-assess the situation. Increasing the score by multiple points is not advisable without first seeing how this affects spam and users.
Step 4: Enable CAPTCHA on all pages
The last step is to enable CAPTCHA on all pages. This setting loads the ReCAPTCHA script, allowing the ReCAPTCHA service to better understand how visitors/users are behaving across the website. Enabling this option should yield better results.
Under the v3 Script Load option, select All Pages.
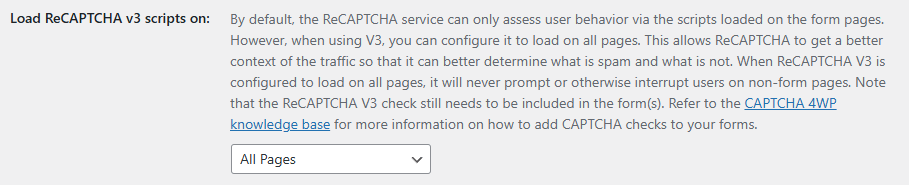
Once ready, make sure you save the settings by clicking the Save Changes button.
Next Steps
If you’re still getting a high number of spam messages, consider following these steps next:
Geo-blocking
CAPTCHA 4WP also offers other options for fighting spam emails and comments.
One such option is geo-blocking. With this feature, you can easily block form submissions from specific countries or allow submissions from specific countries only.

You’ll need an IPLocate API key, with the free version good for 1,000 verifications per day. Once you have the key, you can configure this in the plugin’s settings by navigating to CAPTCHA 4WP > Form Placements. You can then send location rules based on whether you want to allow or block WordPress form submissions from specific countries.
Smart fields
Smart fields are additional fields that you can add to your form that make it even more difficult to get through when used in conjunction with CAPTCHA.
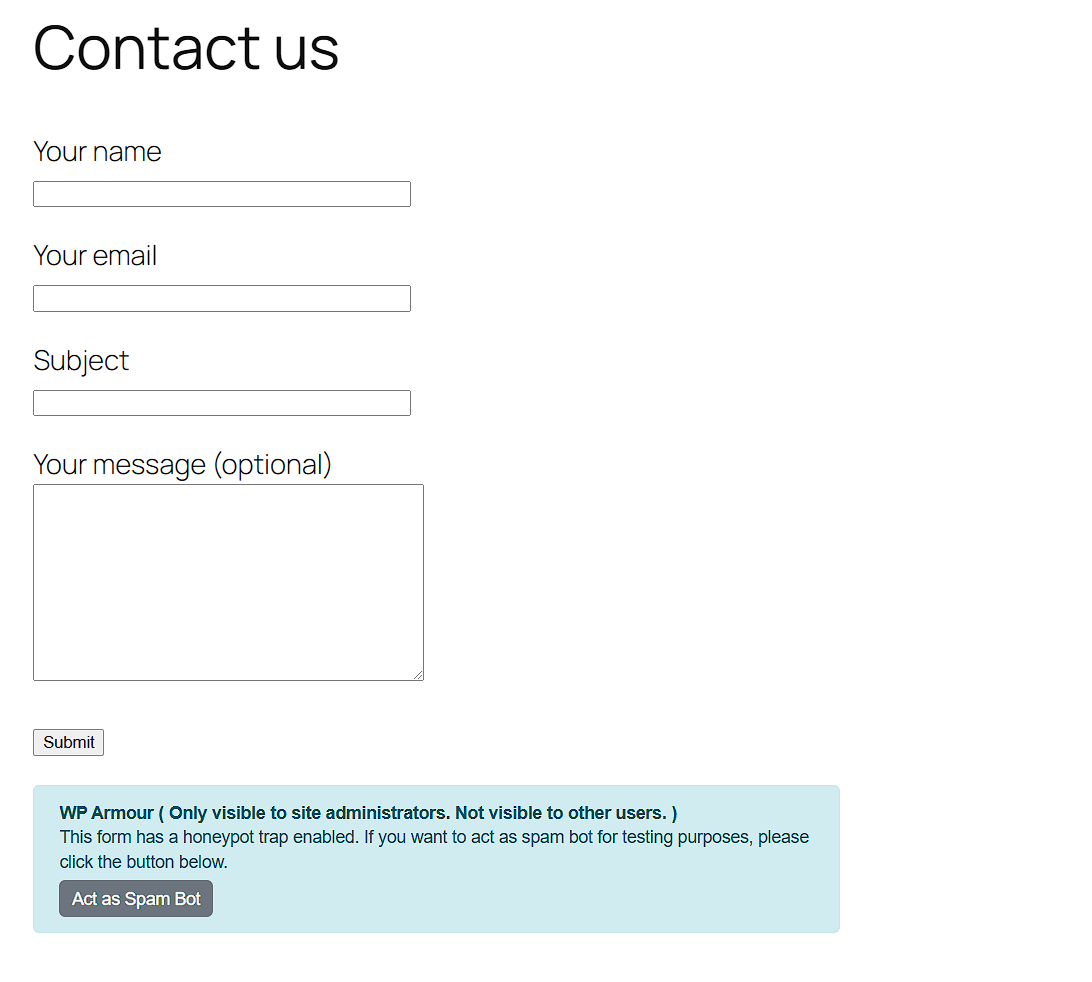
Honeypot fields are essentially hidden fields that only a bot would see. If an input is registered in the field, the form will not be sent, helping you reduce instances of automated spam. Form plugins may include this as a feature – all you need to do is enable it.
Test questions are simple questions that a human can answer, but a bot would struggle with. Test questions are included as mandatory fields in the submission form and can ask questions such as How many legs does a puppy have? Or 5 + 2 = ?.
You can also use plugins such as WP Armour, which automatically adds a honeypot field to your forms, adding an additional anti-spam layer.
Try a different service provider
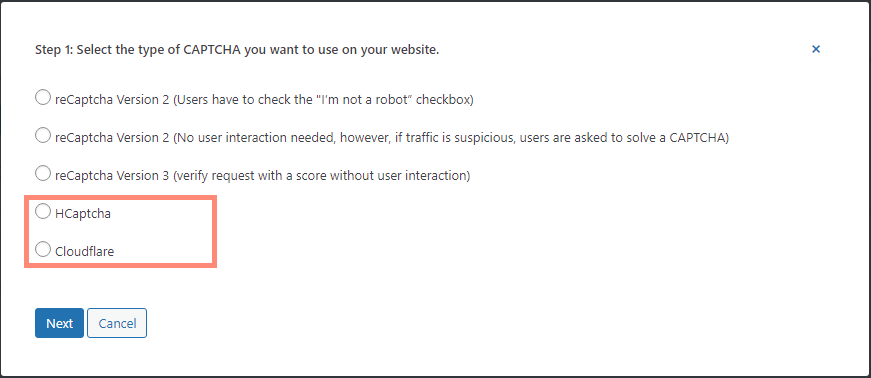
If you continue to receive spam after carrying out optimizations, you may want to try a different service provider instead. CAPTCHA 4WP offers easy integration with Cloudflare Turnstile and hCAPTCHA – providing you with multiple options to prevent spam.
ReCAPTCHA – A useful tool for stopping spam
ReCAPTCHA, and other CAPTCHA services are good at stopping bot spam from inundating your website. However, we need to keep in mind that no solution is 100% foolproof, especially when it comes to internet and computer security. Spammers, like hackers, are always looking for ways to circumvent the checks and balances we put in place to keep our websites safe. This means that some spam might still get through, even with reCAPTCHA enabled; however, using the latest version will ensure this is kept to a minimum.
Frequently Asked Questions
reCAPTCHA might not be stopping spam for a number of reasons. Updating to the latest version of reCAPTCHA ensures you get the best protection against more sophisticated bots. Supplementing CAPTCHA with measures such as geo-blocking adds another line of defense against bots.
Keep in mind that CAPTCHA provides protection from spam bots, which is why many spammers use human labor to spam websites.
Google reCAPTCHA is an effective deterrent for contact form spam. Using V3, the latest version, provides the best protection. Not only is it the most advanced reCAPTCHA, but it also allows you to set the passmark score to further limit spam.
Using our CAPTCHA 4WP plugin, you can also set a failover action to avoid false positives from falling through the cracks.